Key takeaways
- Handmade paper crafts provide a calming, meditative joy and allow personal expression through unique creations.
- Essential materials for crafting include varied tissue paper and adhesives; the right choices can inspire creativity and enhance project success.
- Working with tissue paper requires a gentle touch and patience to avoid tearing and ensure a clean finish in designs.
- Incorporating textures and playful patterns can elevate the look of projects, making them feel more personal and dynamic.

Introduction to Handmade Paper Crafts
Handmade paper crafts have a unique charm that machines simply can’t replicate. I still remember the first time I made a paper flower—it felt almost magical to transform a simple sheet into something so delicate and personal. Have you ever noticed how working with your hands can bring a calming, almost meditative joy?
There’s something deeply satisfying about creating with paper: the way it folds, tears, and absorbs color invites creativity in its purest form. In my experience, even the smallest paper project can spark a sense of accomplishment and brighten a whole day. Don’t you find that crafting helps connect you to the moment in a way few other activities do?
Exploring handmade paper crafts opens up endless possibilities. Whether it’s shaping a box, designing a card, or embellishing gifts, each piece carries a story and a touch of the maker’s personality—something that mass-produced items lack. Have you ever gifted something handmade and noticed the difference it made?
Essential Materials for Paper Crafting
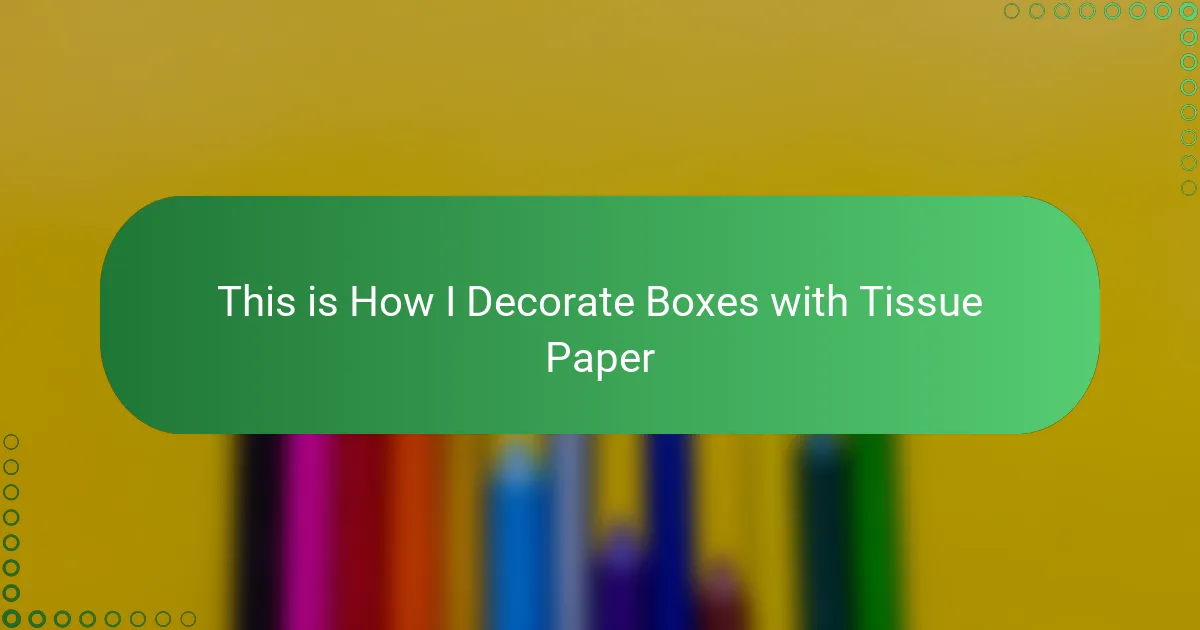
When I first started decorating boxes with tissue paper, I quickly realized that having the right materials made all the difference. Basic essentials like tissue paper in various colors, a good pair of scissors, and a reliable adhesive became my go-to tools for turning plain boxes into little works of art. Have you ever noticed how the quality of your materials can either inspire or frustrate your creativity?
I find that selecting tissue paper with the right texture and thickness is crucial. Too thin, and it tears easily; too thick, and it loses that delicate, dreamy effect I love. Over time, I’ve learned to keep a stash of different types on hand, which really expands what I can create.
And let’s not forget about the adhesives—I’ve experimented with glue sticks, decoupage glue, and even double-sided tape. Each one offers a different kind of hold and finish, and choosing the right one helps my projects last longer and look cleaner. Have you tried switching up your adhesives to see how it affects your final piece?

Basics of Working with Tissue Paper
Working with tissue paper feels like handling a delicate secret—its thinness allows it to shimmer and catch light in ways thicker papers can’t. I learned early on that tissue paper’s softness demands a gentle touch; rushing, and it’s likely to tear before you even start. Have you ever felt that mix of excitement and caution when your fingers first press down on a fragile sheet?
Cutting and layering tissue paper is where the magic truly happens. I often find myself experimenting with different shapes and overlapping colors, watching patterns emerge almost like a surprise gift. Does layering ever make you pause and appreciate how something so simple can turn into a vibrant design?
One trick I swear by is using a light adhesive—too much and the tissue paper wrinkles, too little and it peels away. Finding that sweet spot took time, but it’s so rewarding watching the tissue paper settle smoothly onto the box, almost as if it’s part of the surface itself. Have you discovered your own little hacks that make tissue paper crafting less tricky and more fun?

Step-by-Step Box Decorating Techniques
The first step I always take is to prepare the box surface by lightly sanding any rough spots—this helps the tissue paper adhere better and feel smoother to the touch. Have you ever noticed how a little prep work sets the stage for a more polished finish? It’s a simple habit that really elevates the whole decorating experience.
Next, I carefully tear or cut the tissue paper into shapes that suit my vision, often mixing soft curves with sharp edges to add visual interest. Sometimes, I let myself get a bit playful with layering different colors and textures, watching each new layer transform the box into a unique piece. Don’t you love that moment when the design starts to come alive right before your eyes?
Finally, applying the adhesive is a delicate dance—I use a soft brush to spread glue evenly without saturating the tissue, then gently press the paper down to avoid wrinkles or bubbles. This part requires patience, but the satisfaction of seeing a smooth, vibrant surface makes it worth every careful move. Have you found a go-to technique that helps keep those pesky creases at bay?

Creative Tissue Paper Designs for Boxes
When I started experimenting with tissue paper designs for boxes, I discovered that mixing bold colors with soft pastels creates a dynamic contrast that really brings the surface to life. Have you ever tried layering different hues to see how they interact? It’s amazing how simple overlaps can turn a plain box into a lively canvas full of movement.
One of my favorite techniques involves cutting tissue paper into whimsical shapes—like petals, stars, or abstract blobs—and arranging them in patterns that feel playful yet intentional. This approach lets me express moods or themes, transforming each box into a little story. Do you find that creating these patterns helps you relax and focus in a way few other crafts do?
Another design trick I rely on is incorporating crumpled tissue paper for texture, adding a tactile dimension that catches the light differently with every angle. It might sound unusual, but that subtle roughness makes each box feel handcrafted and unique. Have you experienced the joy of adding small textures that give your projects unexpected depth?
Personal Tips for Decorating Boxes
When I first started decorating boxes with tissue paper, I quickly learned that patience is my best friend. Rushing often meant tears (both the paper and my frustration), so I remind myself to slow down and enjoy each step. Have you ever noticed how taking your time turns a simple project into a calming ritual rather than a chore?
I also like to play with layering—sometimes I just fold or crumple smaller scraps and add them on top for subtle texture. It’s a little detail that makes the box feel more alive and personal. Don’t you think those small touches give a handmade piece its own heartbeat?
Finally, I make sure to keep my workspace clutter-free and all my materials within reach. This small habit saves me from scrambling mid-project and lets me stay focused on the fun of creating. How often do you find your environment shaping the flow of your crafting? For me, the right setup is half the magic.
Troubleshooting Common Issues in Paper Crafting
I’ve definitely faced frustration when tissue paper tears unexpectedly, especially in the middle of a delicate design. Have you ever caught yourself holding your breath, hoping the paper won’t rip? From my experience, the key is to handle each sheet with the gentlest touch and avoid stretching it while applying glue.
Another common hiccup is dealing with wrinkles or bubbles after the tissue paper is glued down. I used to rush this step and end up with a floppy, uneven surface. Now, I make sure to smooth the paper slowly with a soft brush or my fingertips, pressing gently from the center outward to keep everything flat and seamless. Doesn’t that small patience make a big difference?
Sometimes, adhesives don’t behave as expected—too much glue and the colors bleed or the paper puckers; too little and the tissue peels off later. I remember experimenting a lot before finding the “just right” amount that keeps the tissue secure without sacrificing its delicate look. Have you discovered your own adhesive balance, or are you still on the journey?